Pink Chocolate-Chip Cookie Dough
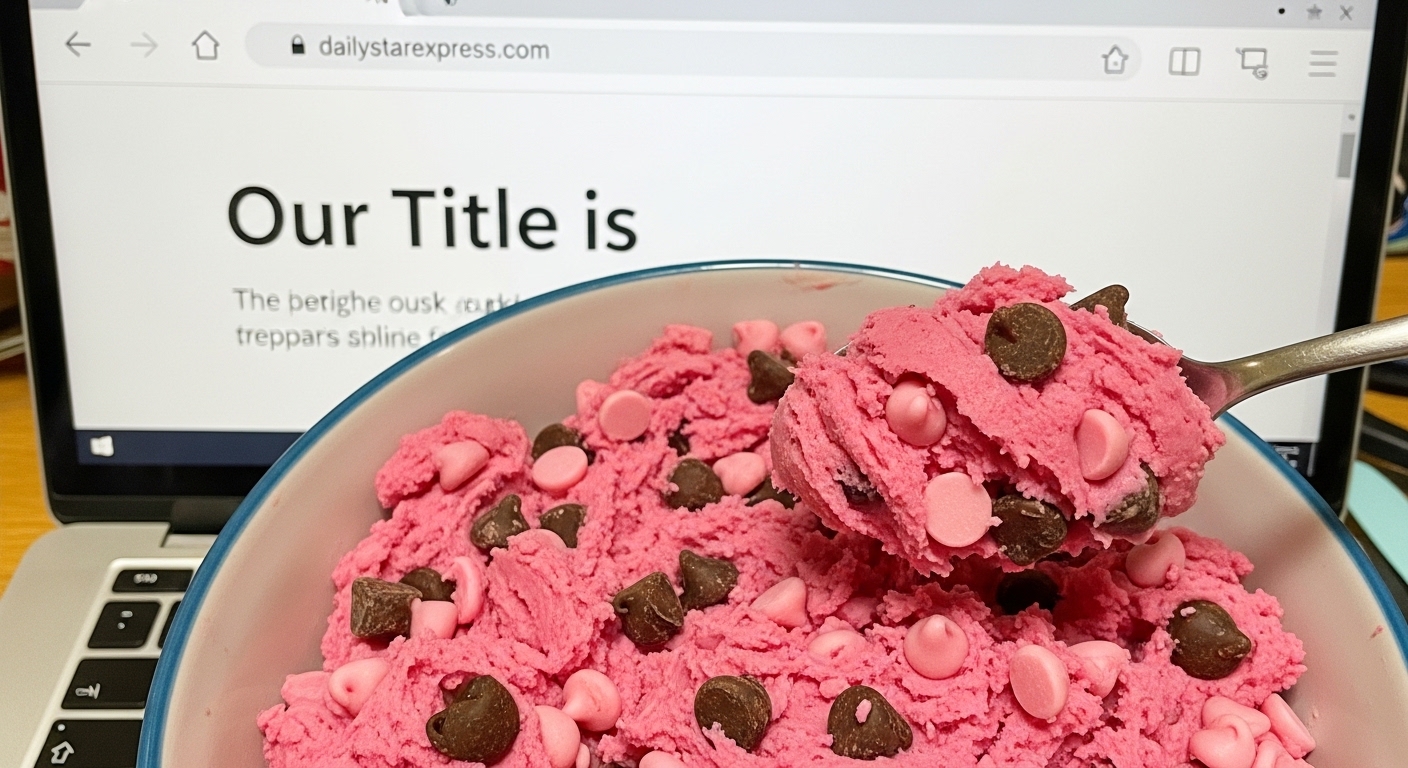
Enjoy a fusion of chocolate brownie and pink chocolate chip dough for a playful bite-sized indulgence. Each piece features a fudgy brownie base, enriched with cocoa and vanilla, crowned with creamy, egg-free cookie dough brightened by mini chocolate chips. A silky chocolate drizzle brings it all together, adding a glossy finish. Quick baking, simple layering, … Read more