Five Full-Body Workout Routines to Achieve Your Fitness Goals, Approved by Experts 💪
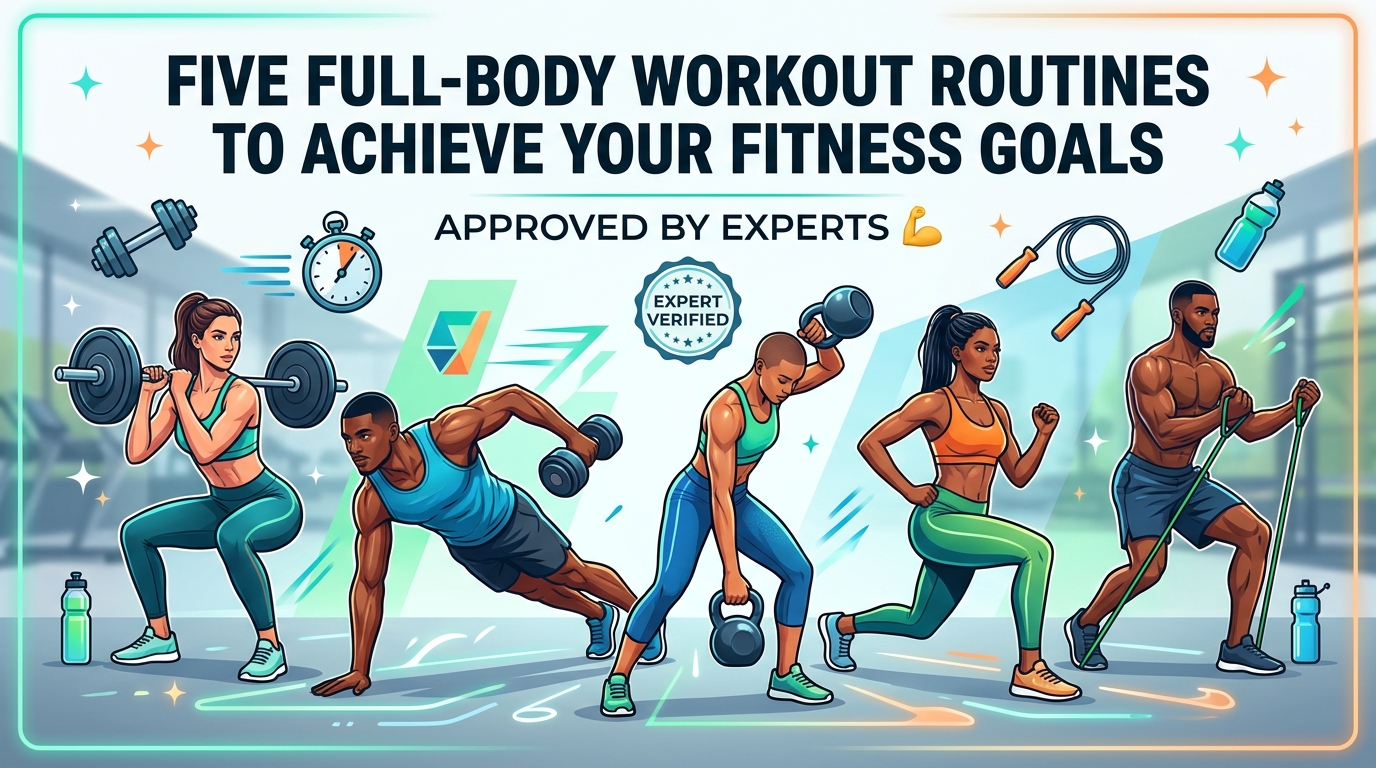
Whether your goal is weight loss, muscle building, endurance, or overall health, full-body workouts are one of the most effective training methods you can follow. These workouts target multiple muscle groups in a single session, helping you burn more calories and improve overall fitness faster. Fitness experts often recommend full-body routines because they are efficient, … Read more